This guide provides step-by-step instructions on editing, duplicating, archiving, and deleting pass prices and entry types to ensure accurate record management in your system.
For more details on passes in BETA, please read our dedicated explainer below,
Passes Explainer
Explore our comprehensive guide on understanding passes in BETA, including entry types, pass prices, creation processes, and tracking usage for enhanced gym management.

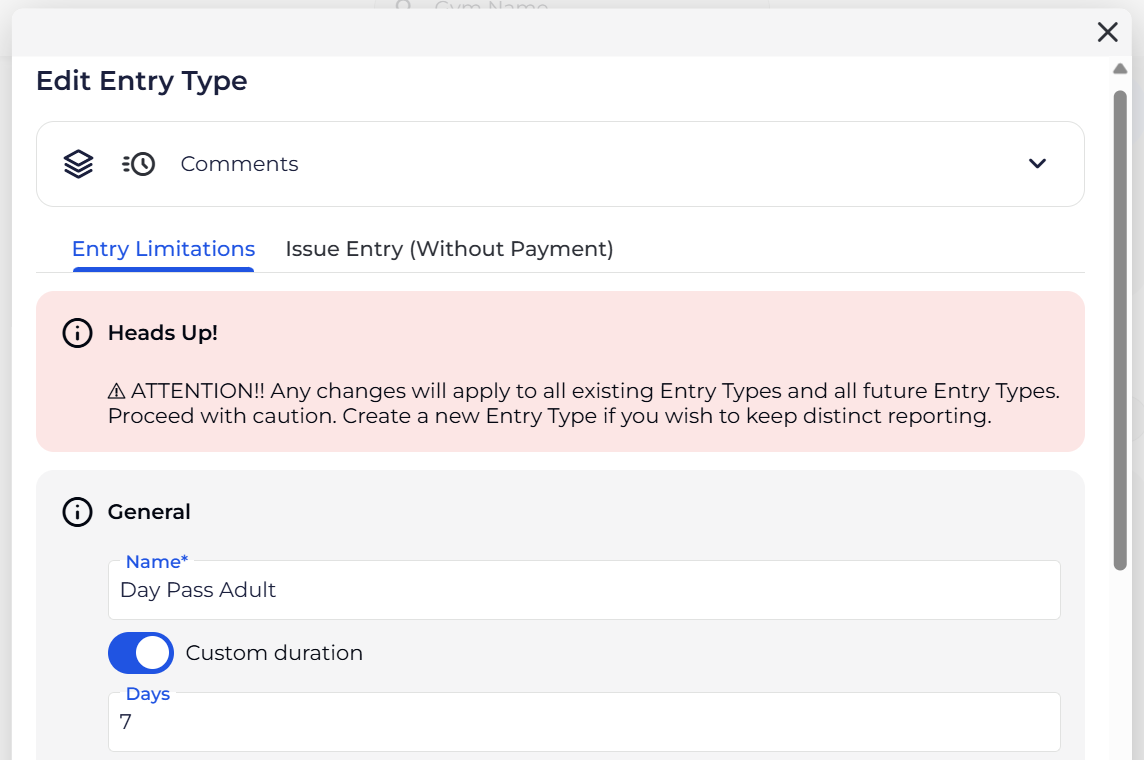
Click on the entry type, change the name of the Entry Type in the Name field, click Submit at the bottom of the Entry Type pop up.
Adding a custom duration on an entry type is available on the BETA Business Tier & above.
Click on the entry type, toggle on the Custom duration feature and specify that duration in number of days. Once you’re happy with this, click Submit at the bottom of the Entry Type pop up.
Deleting Entry types is only allowed for Entry Types that have never been:
Entry Types that have never been used for a check-in, or
Entry Types that are not tied to Pass Prices
This is to maintain accurate records.
Quickly update the name of a pass price or its displayed information to reflect changes while retaining the original configuration.
Updating the name of a Pass Price will automatically update on your widgets and POS.
Set up a new pass price using an existing entry configuration to maintain consistency and streamline pricing updates.
Modify a pass price's label or category to better organize your offerings or adapt to new pricing structures.
Define where and how a pass price is available, ensuring alignment with your sales channels and member access.
Associate add-ons with specific pass prices to offer additional features or benefits during the online widget purchase process.
Remove pass prices from active use by archiving them, while preserving historical data for reporting.
Deleting Pass Prices is only allowed for Pass prices that have never been:
Pass Prices that have never been sold
This is to maintain accurate records.